
This step-by-step guide will cover how to configure two basic troubleshooting tools, Traceroute and MTR, in different operating systems.
Traceroute
Traceroute for Windows
- Open the command prompt. Go to Start > Run.
- In the command prompt, type: tracert hostname.
- You may have to wait up to a minute or more for the test to complete.
- Check for any significant differences in latency (measured in milliseconds (ms) .
Traceroute for Mac OS X
- Launch Network Utility.
- Click Traceroute.
- Enter the domain name for which you want to perform a traceroute.
- Click Trace.
My Traceroute (MTR)
MTR for Windows
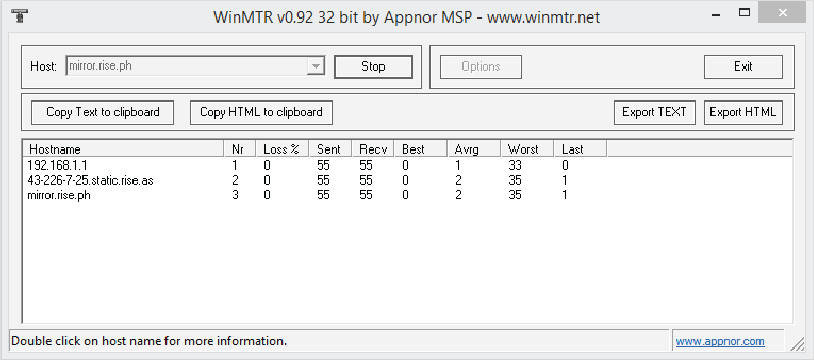
- Download the tool from the WinMTR projects. Save the file and open the application “WinMTR” inside.
- Enter the name of the website you are having performance problems within the “Host:” box as shown below. If you don’t have problems with a specific site, you can use www.google.com

- Click the “Start” button. Let the trace run until the “Sent” column increments to 50 or higher, then click “Stop.” This should take around one minute to complete.
- If there are issues with your internet service provider, you should raise a ticket with them and provide the copy of the results.
- If you want to learn more about the MTR tool and what the numbers mean, you can read more at Reporting Packet Loss
MTR for Linux
- MTR is available for nearly all Linux and other UNIX-like operating systems via standard package managers. For Redhat/Centos based OSs use the command “sudo yum install mtr” or for Debian based OSs such as Ubuntu and Mint, use “sudo apt-get install mtr”
- Open a terminal and run the command “mtr -rc 50 <website name>” where <website name> is replaced with the name of the site you are having problems with. If you are having general issues, you can use www.google.com here. This will take around one minute to run.
- If you want to learn more about the MTR tool and what the numbers mean, you can read more at Reporting Packet Loss
MTR For Mac OS
The process for installing MTR on Mac OS is a little more complex than you may be used to. You first need to install a package manager like MacPorts or Homebrew. This guide will show how to use Homebrew.
- To install Homebrew, open Terminal via (1) Finder > Applications > Utilities > Terminal or (2) via Spotlight Search, and enter the command below.
/usr/bin/ruby -e “$(curl -fsSL https://raw.githubusercontent.com/Homebrew/install/master/install)”
This will then ask you to input your password to continue with the installation. You will then be prompted to press the Return(Enter) key.
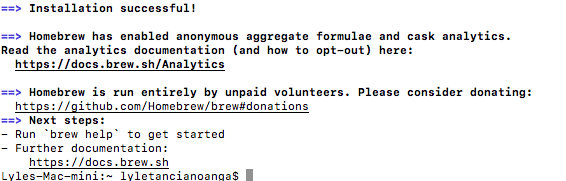
Refer to the image below to confirm if you have successfully installed Homebrew:
- Then install MTR by running the command:
brew install mtr
- Once mtr is installed, run the command:
cd /usr/local/Cellar/mtr/0.92/sbin
- Make the mtr command available to your system by running:
sudo cp mtr /usr/local/bin
sudo cp mtr-packet /usr/local/bin/
- Restart Terminal (quit and reopen)
- Run sudo mtr 8.8.8.8 and you should receive an output like below. Copy and paste this into an email to [email protected]
- If you want to learn more about the MTR tool and what the numbers mean, you can read more at Reporting Packet Loss